Are you tired of rummaging through a cluttered closet every morning, struggling to find your favorite outfit? It’s time to take matters into your own hands and design the closet of your dreams. With a little bit of creativity and some DIY skills, you can transform your chaotic closet into a well-organized haven. In this blog article, we will guide you through the process of DIY closet design, offering valuable tips and tricks along the way. Whether you have a small corner or a spacious walk-in closet, get ready to maximize your storage space and create an aesthetically pleasing and functional closet that suits your needs. Let’s dive in!
Table of Contents
Assess Your Closet Needs
Before diving into the exciting world of DIY closet design, it’s essential to assess your specific needs. Take a close look at your current closet and evaluate what is working and what needs improvement. Consider factors such as your wardrobe size, types of clothing items you own, and any specific storage requirements.
Start by decluttering your closet and getting rid of items you no longer wear or need. This will help create space for the things that truly matter. Next, analyze your clothing collection and categorize it into different sections like tops, bottoms, dresses, and accessories. This step will give you a clearer idea of how much space you need for each category.
Measure Your Space
Now that you have a better understanding of your closet needs, it’s time to measure your space. Grab a measuring tape and carefully measure the width, height, and depth of your closet. Don’t forget to measure any nooks, corners, or alcoves that could be utilized for additional storage.
Take note of any existing shelves, rods, or other organizational elements that you may want to keep or modify. These measurements will serve as a foundation for planning and designing your DIY closet transformation.
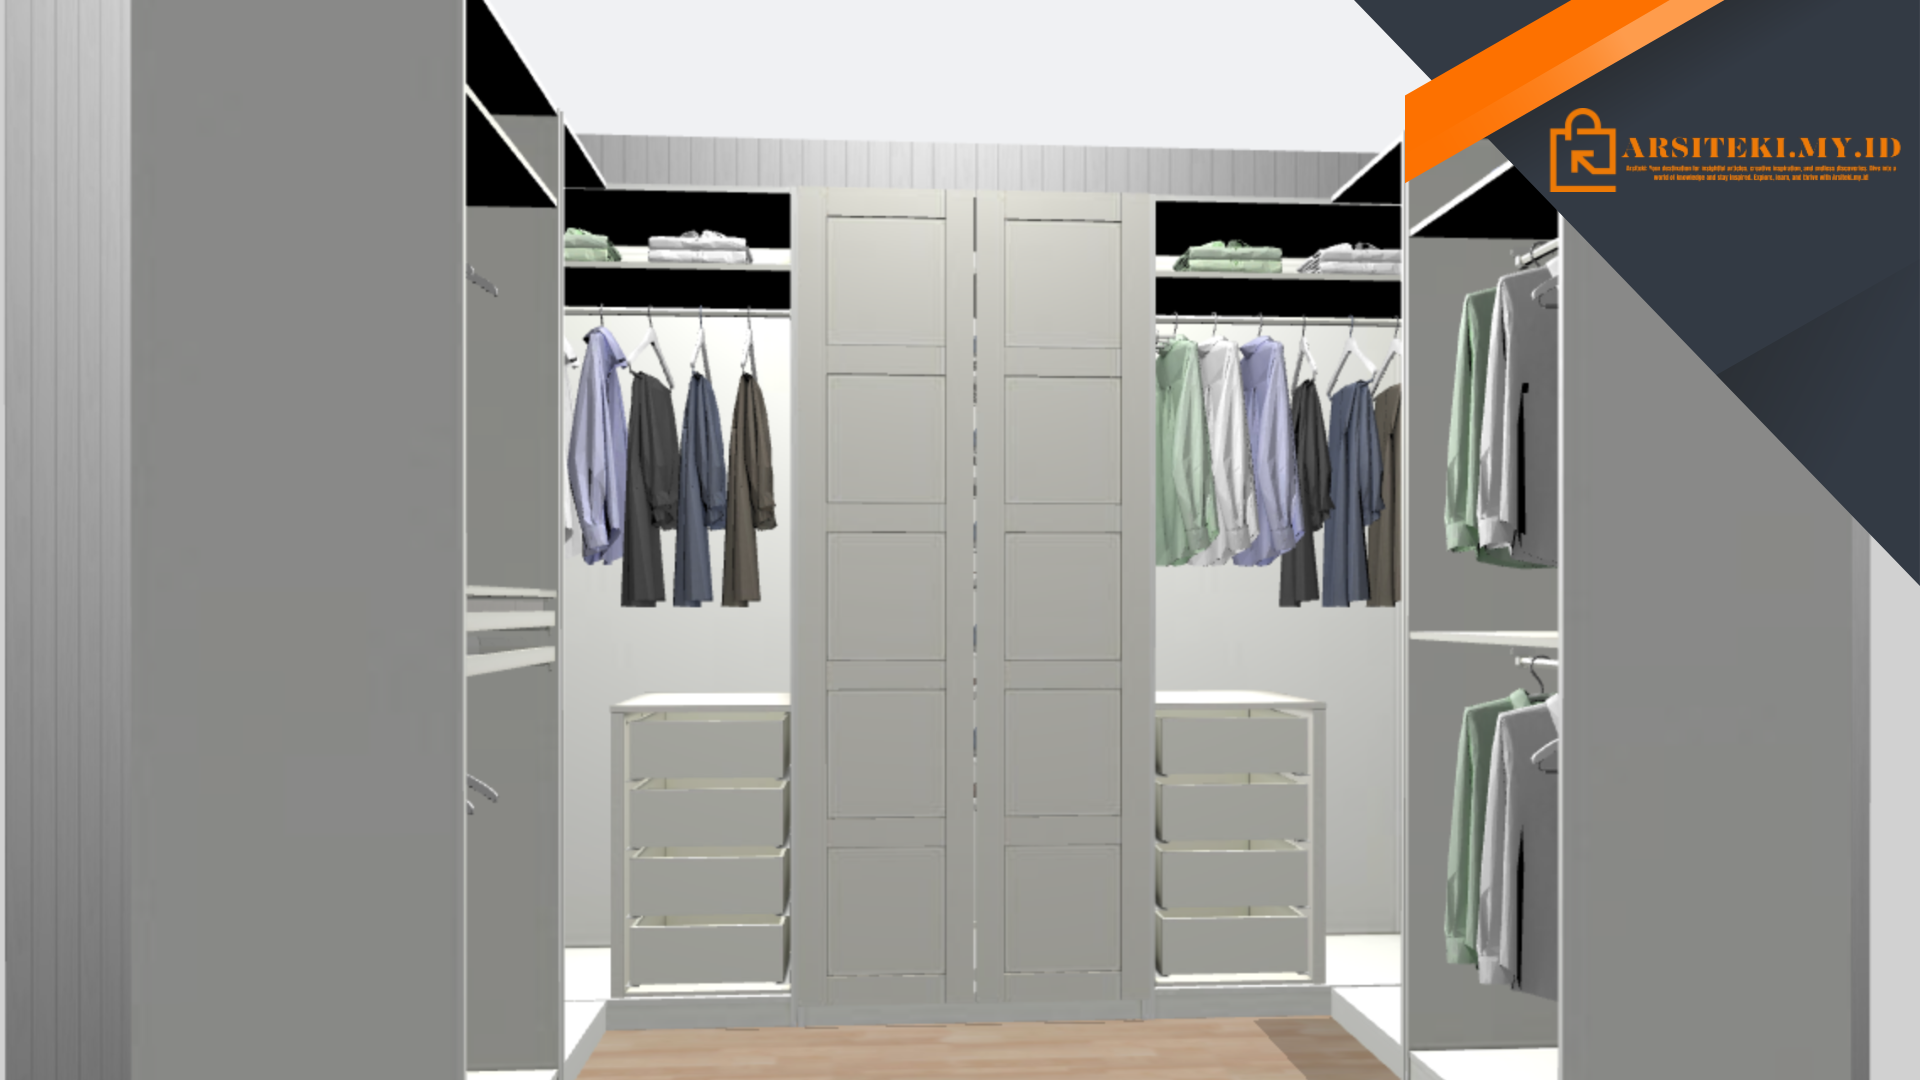
Create a Functional Layout
Now that you have assessed your closet needs and measured the space, it’s time to create a functional layout for your DIY closet design. The key here is to maximize the available space efficiently, ensuring that everything you need is easily accessible.
Consider Your Storage Options
Think about the different storage options that will work best for your closet. This could include shelves, hanging rods, drawers, shoe racks, and accessory organizers. Assess which items require hanging space, which can be folded and stacked, and which need to be stored in drawers.
Utilize vertical space by installing additional shelves or using stackable storage containers to make the most of the closet’s height. Incorporate adjustable shelves and rods to accommodate changing storage needs over time.
Plan Your Layout
With your storage options in mind, it’s time to plan the layout of your closet. Consider the most efficient way to arrange your clothing and accessories. For example, place frequently worn items at eye level or within easy reach, while less frequently used items can be stored on higher or lower shelves.
Group similar items together, such as organizing clothes by type or color, to create a visually appealing and organized closet. Consider utilizing the corners and alcoves for specialized storage solutions like a built-in shoe rack or a pull-out accessory drawer.
Remember to leave some empty space for future wardrobe additions or seasonal clothing changes. This will prevent your closet from becoming overcrowded and allow for easy access and maintenance.
Get Creative with DIY Storage Solutions
Now that you have planned the layout of your DIY closet design, it’s time to get creative with storage solutions that will enhance the functionality and aesthetics of your space. Here are some DIY ideas to inspire you:
Repurpose Everyday Items
Look around your house for items that can be repurposed as storage solutions. For example, use ice cube trays or jewelry organizers to store small accessories like earrings and rings. Hang a pegboard on the wall to hang handbags or scarves. This not only adds functionality but also adds a unique touch to your closet.
Create Customized Dividers
If you have deep shelves or drawers, create customized dividers to keep things organized. You can use materials like foam board, cardboard, or even repurpose old shoeboxes. Cut them to the desired size and create compartments for socks, underwear, or other small items.
DIY Shoe Storage
Shoes often take up a significant amount of space in a closet. Get creative with DIY shoe storage options to maximize space. Install tension rods or PVC pipe sections horizontally to create shoe shelves. Use hanging shoe organizers on the back of the closet door. You can also repurpose a ladder or an old wooden crate as a stylish shoe rack.
Add Lighting
Don’t forget to consider lighting in your DIY closet design. Good lighting not only makes it easier to find what you’re looking for but also adds a touch of elegance. Install LED strip lights under shelves or inside cabinets to illuminate your clothing and accessories.
With these creative DIY storage solutions, you can transform your closet into an organized and visually appealing space that reflects your personal style.
Finishing Touches and Organization Tips
As you near the completion of your DIY closet design, it’s time to add the finishing touches and implement organization tips that will ensure your new closet remains functional and clutter-free. Here are some suggestions:
Label and Categorize
Labeling shelves, bins, and storage containers will make finding specific items a breeze. Use clear labels or adhesive tags to identify different sections or types of clothing. This will help maintain the organization and prevent items from being misplaced.
Utilize Hooks and Hangers
Hooks and hangers can be your best friends when it comes to keeping things tidy. Install hooks on the inside of the closet door or walls to hang belts, ties, or scarves. Use cascading hangers to maximize vertical space and keep your clothes wrinkle-free.
Maintain Regular Maintenance
To ensure your DIY closet design stays organized, make it a habit to regularly declutter and reorganize. Set aside time each season to assess your wardrobe, donate or sell items you no longer wear, and rearrange your storage solutions to accommodate any changes.
Consider Additional Accessories
Depending on your needs, consider adding additional accessories to enhance the functionality of your closet. This could include a full-length mirror, a fold-out ironing board, or a pull-out hamper for dirty laundry. Choose accessories that align with your lifestyle and make your daily routine more convenient.
By implementing these finishing touches and organization tips, you’ll maintain a well-organized and efficient closet that brings joy every time you step into it.
Conclusion: Enjoy Your Personalized Closet Space
Congratulations! You have successfully designed and created your very own DIY closet that perfectly suits your needs and style. By assessing your closet needs, measuring the space, and planning a functional layout, you have transformed a cluttered space into an organized oasis.
With the use of creative storage solutions and thoughtful organization tips, your closet now boasts customized dividers, repurposed items, and efficient shoe storage. The finishing touches, such as labeling and regular maintenance, will ensure your closet remains tidy and easy to navigate.
As you step into your newly designed closet, take a moment to appreciate the hard work and creativity you have put into this project. Enjoy the convenience of finding your favorite outfit effortlessly and revel in the joy of a well-organized space.
Remember, your DIY closet design is not only functional but also a reflection of your personal style. Embrace the uniqueness of your closet and make it a space that brings you happiness every time you open its doors.
So go ahead, organize, personalize, and enjoy your new DIY closet space. Happy organizing!
In conclusion, creating a DIY closet design allows you to take control of your space and customize it to meet your specific needs. By assessing your closet requirements, measuring the space, and planning a functional layout, you can maximize storage and organization. Utilizing creative storage solutions and repurposing everyday items add a unique touch to your closet while optimizing space. Adding finishing touches like labeling, hooks, and hangers, as well as practicing regular maintenance, ensures long-term organization. Embrace the satisfaction of a well-designed closet that not only reflects your personal style but also simplifies your daily routine. So, roll up your sleeves, unleash your creativity, and embark on the journey of transforming your closet into a functional and visually pleasing haven!