Are you tired of dealing with cluttered and disorganized closets? Do you dream of having a perfectly tailored storage space that fits your needs and style? Look no further! In this article, we will guide you through the process of creating your very own custom closets, all by yourself. Whether you’re a DIY enthusiast or just looking to save some money, we’ve got you covered. Say goodbye to messy closets and hello to a well-organized haven that will make your daily routine a breeze. Let’s dive in and discover the secrets to designing and building custom closets that suit your unique requirements.
Table of Contents
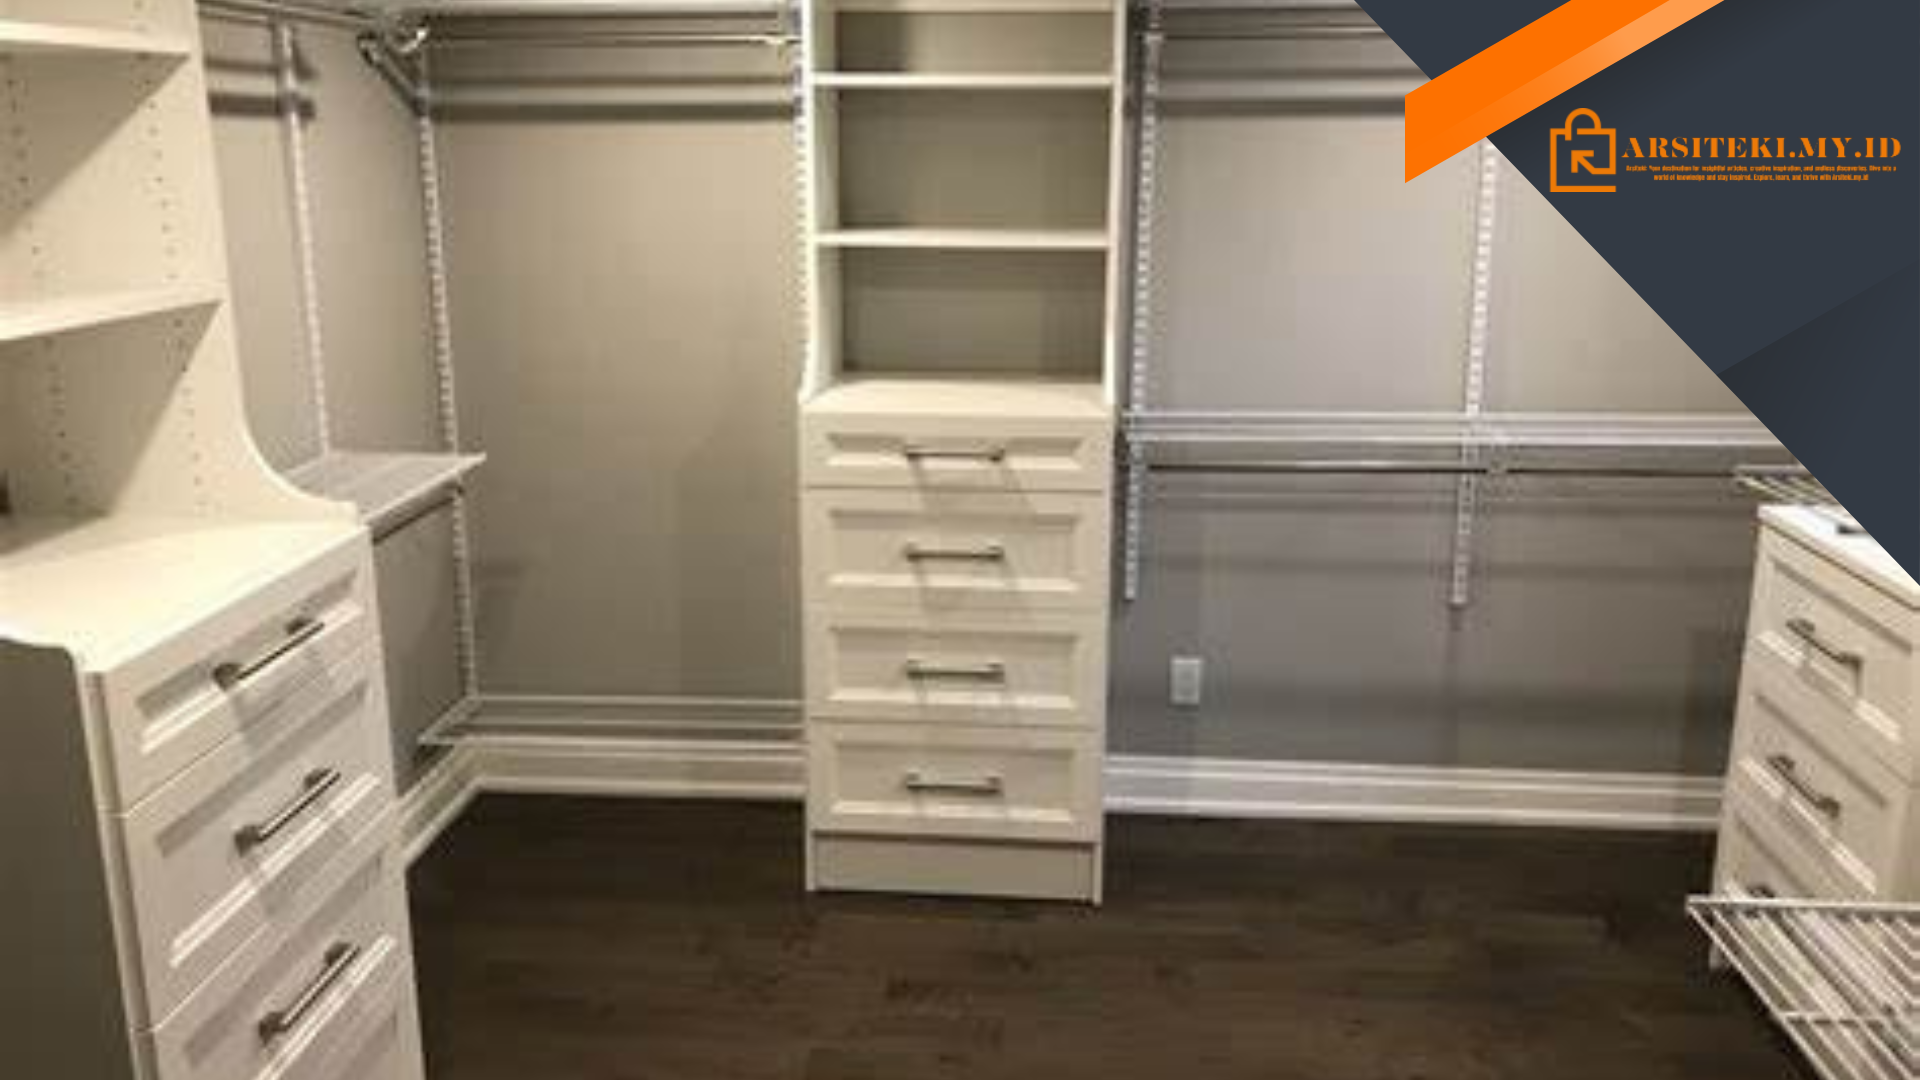
Designing Your Custom Closet
When embarking on the journey of creating your custom closet, it’s crucial to start with a well-thought-out design. This step sets the foundation for a functional and aesthetically pleasing storage space. Here’s what you need to consider:
1. Assess Your Needs
Begin by evaluating your specific storage requirements. Take inventory of your clothing, accessories, and other items you plan to store in the closet. This will help you determine the amount of hanging space, shelves, drawers, and other storage elements you’ll need.
2. Measure the Space
Accurate measurements of the closet space are vital for a successful custom design. Measure the width, height, and depth of the area, taking into account any obstacles such as doors or windows. Don’t forget to measure the distance between the walls and any existing features like light switches or electrical outlets.
3. Consider Your Style
Think about the overall style and aesthetic you want your custom closet to reflect. Are you aiming for a sleek and modern look, or do you prefer a rustic and cozy vibe? Consider the materials, colors, and finishes that will complement your existing décor and personal taste.
4. Plan the Layout
With your needs and measurements in mind, it’s time to plan the layout of your custom closet. Decide on the placement of various components such as hanging rods, shelves, shoe racks, and drawers. Optimize the space by utilizing vertical storage and ensuring easy accessibility to frequently used items.
5. Use Software or Templates
If you prefer a more visual approach, consider using design software or online templates to help you create a digital representation of your custom closet. This can aid in visualizing the final result and making any necessary adjustments before diving into the construction phase.
By following these steps, you’ll be well on your way to designing a custom closet that perfectly suits your needs and style. In the next section, we’ll explore the materials and tools required to bring your design to life.
Gathering Materials and Tools
Once you have your custom closet design all mapped out, it’s time to gather the necessary materials and tools to bring your vision to reality. Here’s what you’ll need:
1. Wood or Alternative Material
Choose the primary material for constructing your custom closet. Wood is a popular choice due to its durability and versatility. However, there are other alternatives like melamine or plywood that can be more budget-friendly while still providing a sturdy structure.
2. Hardware and Accessories
Don’t forget to gather the necessary hardware and accessories to complete your custom closet. This includes items such as hinges, drawer slides, handles, knobs, and any other decorative or functional elements you’ve included in your design.
3. Cutting and Installation Tools
Ensure you have the right tools for cutting and installing the materials. Common tools include a circular saw or table saw for cutting wood, a drill for creating holes, a level for ensuring straight and even installation, and a measuring tape for accurate measurements.
4. Safety Gear
Prioritize your safety by wearing appropriate gear. This may include safety glasses to protect your eyes from debris, gloves to safeguard your hands, and a dust mask to prevent inhalation of dust particles during cutting or sanding.
5. Adhesives and Fasteners
Depending on your chosen materials and design, you may need adhesives such as wood glue or construction adhesive to secure various components. Additionally, gather fasteners like screws, nails, or brackets for joining and reinforcing the structure.
6. Finishing Supplies
Consider the finishing touches for your custom closet. This may involve sandpaper for smoothing any rough edges, paint or stain for adding color or preserving the wood, and brushes or rollers for application.
By gathering these materials and tools, you’ll be fully equipped to begin the construction phase of your custom closet project. In the next section, we’ll delve into the step-by-step process of building your custom closet from scratch.
Building Your Custom Closet
With your design finalized and all the materials and tools at your disposal, it’s time to roll up your sleeves and start building your custom closet. Follow these step-by-step instructions to bring your vision to life:
1. Prepare the Workspace
Clear out the area where you’ll be constructing the custom closet. Ensure you have enough space to move around and work comfortably. Lay down drop cloths or protective materials to prevent damage to the floor or surrounding surfaces.
2. Cut and Assemble the Frame
Using your measurements and design plan, begin by cutting the necessary pieces for the frame of your custom closet. Assemble the frame according to your layout, using screws or appropriate fasteners to secure the joints. Ensure the frame is level and plumb before proceeding.
3. Install Shelves and Components
Once the frame is in place, install the shelves, hanging rods, drawers, and any other components according to your design. Use the appropriate hardware and fasteners to secure them firmly to the frame. Double-check measurements and ensure everything is level and aligned.
4. Attach the Doors or Curtains
If your custom closet includes doors or curtains, attach them using the appropriate hinges, brackets, or tracks. Ensure smooth operation and adjust as needed to achieve a perfect fit.
5. Apply Finishing Touches
With the construction complete, it’s time to add the finishing touches to your custom closet. Sand any rough surfaces, and apply paint or stain if desired. Install the hardware and accessories you’ve gathered, such as handles or knobs, to complete the look.
6. Organize and Enjoy
Finally, it’s time to organize your belongings within your newly constructed custom closet. Arrange your clothing, accessories, and other items in a way that suits your needs and maximizes the available space. Stand back and admire your handiwork!
By following these steps, you’ll be able to build a custom closet that not only meets your storage requirements but also adds a touch of personalized style to your space. In the next section, we’ll explore some additional tips and tricks to help you make the most of your custom closet.
Maximizing Your Custom Closet
Now that you’ve successfully built your custom closet, it’s time to make the most of this newly organized space. Here are some additional tips and tricks to help you maximize the functionality and efficiency of your custom closet:
1. Utilize Vertical Space
Take advantage of the vertical space within your custom closet by incorporating shelving units or hanging organizers that stack or hang from the top. This will help you maximize storage capacity without sacrificing floor space.
2. Group Similar Items
Organize your belongings by grouping similar items together. For example, keep all your shirts in one section, pants in another, and accessories in designated compartments. This will make it easier to find what you need and maintain an organized closet.
3. Use Containers and Dividers
Make use of storage containers, dividers, and baskets to keep smaller items neatly organized. This is especially useful for items like socks, belts, or scarves that can easily get lost in a larger space. Labeling containers can also help with quick identification.
4. Optimize Lighting
Ensure your custom closet is well-lit to enhance visibility and make it easier to find items. Consider adding LED strip lights or overhead lighting fixtures to illuminate the space. Adequate lighting can make a significant difference in the functionality and ambiance of your closet.
5. Regularly Declutter
Maintain the organization of your custom closet by regularly decluttering and purging items you no longer need or use. Set aside time every few months to reassess your belongings and donate or discard items that are no longer serving a purpose.
6. Customize as Needed
Remember that your custom closet is a dynamic space that can be adjusted and customized to suit your changing needs. Don’t hesitate to make modifications or additions as your storage requirements evolve over time.
By implementing these tips, your custom closet will not only provide an organized and efficient storage solution but also contribute to a clutter-free and visually pleasing living space. In the final section, we’ll wrap up our guide with some closing thoughts and a reminder of the benefits of creating your own custom closet.
Conclusion: The Benefits of DIY Custom Closets
Creating your own custom closet offers numerous benefits beyond just organization. Let’s recap why taking on this DIY project can be a game-changer:
1. Cost Savings
By designing and building your own custom closet, you can save a significant amount of money compared to hiring a professional or purchasing pre-made closet systems. You have control over the materials and can adapt the design to fit your budget.
2. Personalization
A DIY custom closet allows you to tailor the design to your specific needs and style preferences. You can choose the materials, finishes, and organizational features that align with your unique taste, resulting in a truly personalized storage solution.
3. Increased Functionality
Customizing your closet ensures that every inch of space is utilized effectively. You can incorporate specialized storage solutions for your specific items, maximizing functionality and making it easier to find and access what you need.
4. Enhanced Organization
A well-designed custom closet eliminates clutter and promotes better organization. With designated spaces for each item and a thoughtfully planned layout, you can maintain a tidy and efficient storage system, saving you time and reducing stress.
5. Home Value
Investing in a custom closet can increase the value of your home. Potential buyers appreciate the added functionality and organization that a custom closet provides, making it an attractive feature when it comes time to sell your property.
6. Sense of Accomplishment
Finally, creating your own custom closet can be a rewarding and empowering experience. The satisfaction of seeing your design come to life and the sense of accomplishment from completing a DIY project can boost your confidence and inspire future creative endeavors.
Now that you have the knowledge and guidance to embark on your own DIY custom closet project, it’s time to put your plan into action. Enjoy the process of designing, building, and organizing your personalized storage space, and revel in the benefits it will bring to your daily life. Happy DIY-ing!
In conclusion, creating your own custom closet through a DIY project can be a fulfilling and practical endeavor. By following the design process, gathering the necessary materials and tools, and building your custom closet, you can achieve a well-organized and personalized storage solution that suits your needs and style. The cost savings, personalization, increased functionality, enhanced organization, potential home value, and sense of accomplishment are all compelling reasons to embark on this project. Say goodbye to cluttered closets and hello to a space that brings ease and efficiency to your daily routine. Start designing your dream custom closet today and enjoy the benefits it will bring to your home and life.