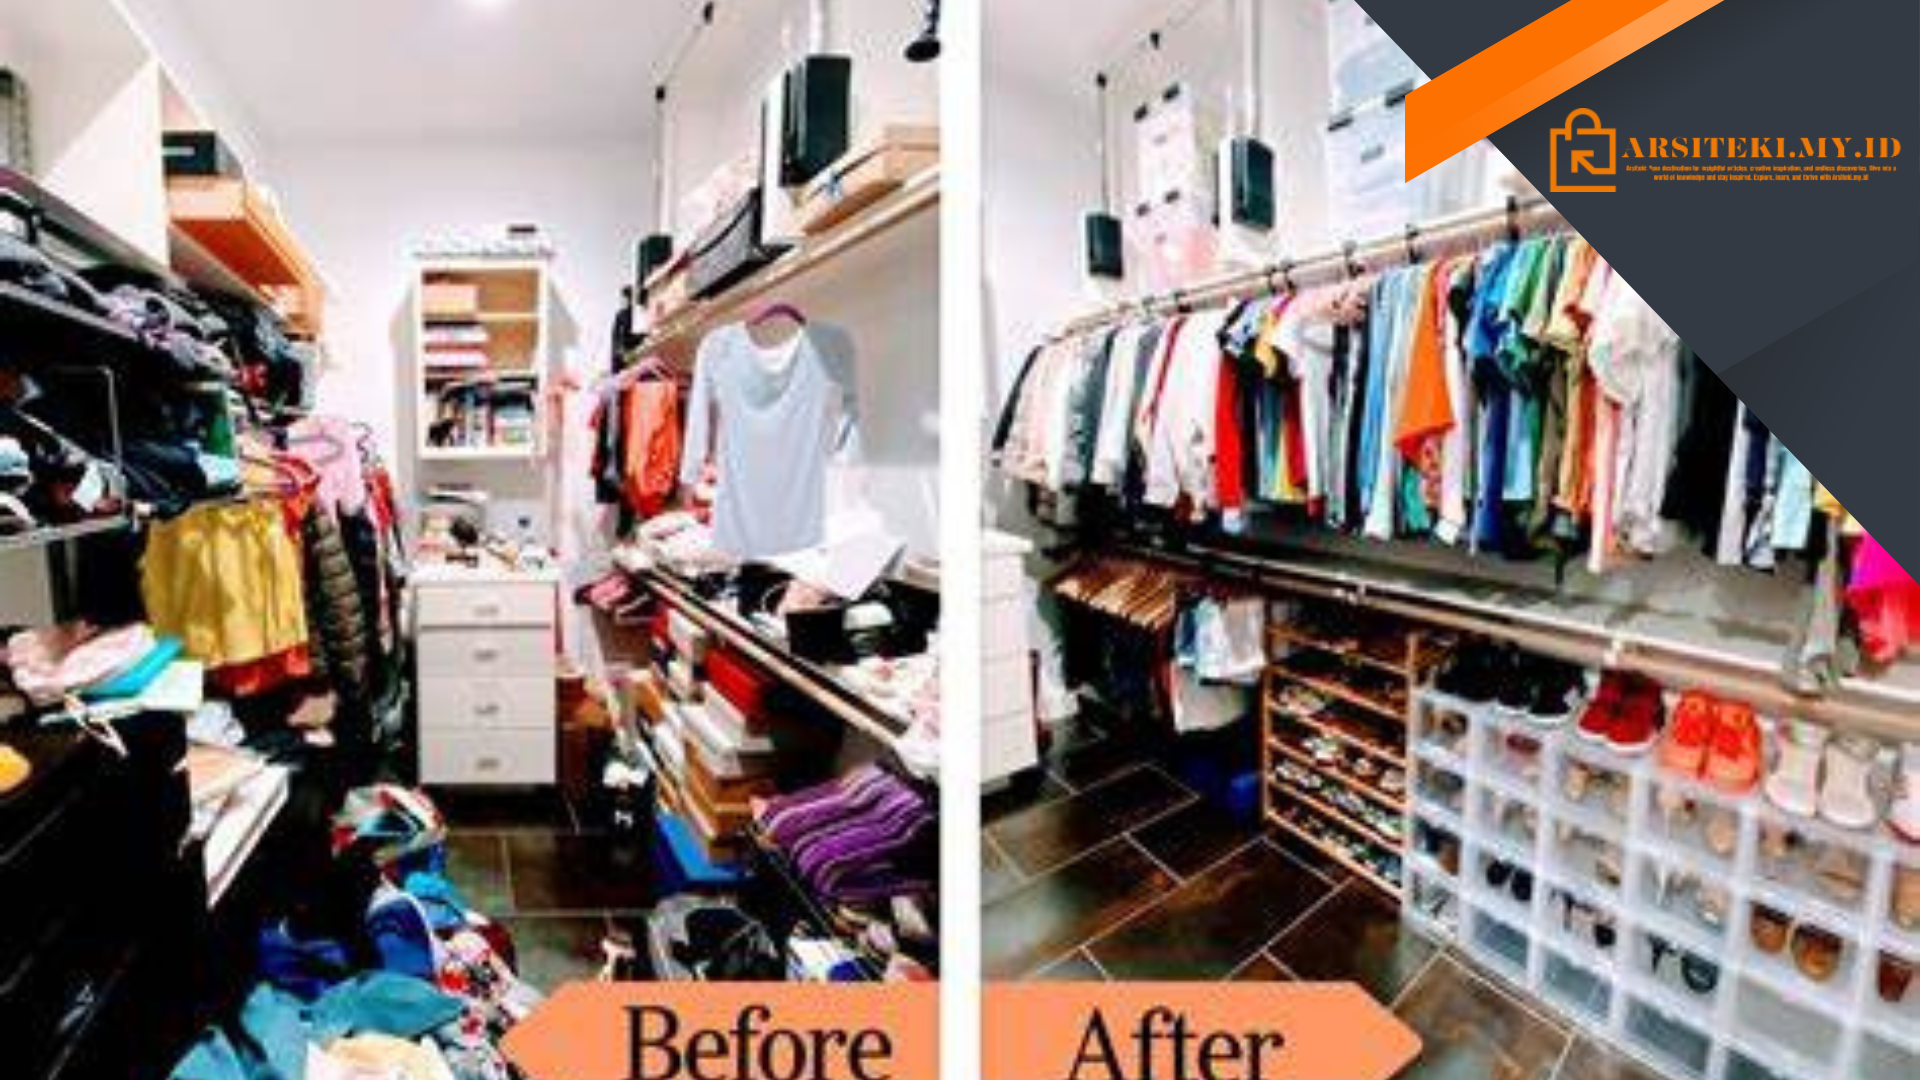
Welcome to our blog, where we unravel the secrets of DIY closets and guide you towards creating a well-organized space that suits your needs. If you’re tired of cluttered wardrobes and chaotic storage solutions, it’s time to take matters into your own hands. In this article, we’ll provide you with expert tips, step-by-step instructions, and creative ideas to help you transform your closet into a functional and stylish haven. Get ready to unleash your inner designer and discover the satisfaction of building your own customized storage solution.
Table of Contents
Why Choose DIY Closets?
When it comes to organizing your space, DIY closets offer a plethora of benefits. Here are a few compelling reasons why you should consider taking the DIY route:
1. Customization:
One of the major advantages of DIY closets is the ability to customize them to fit your specific needs. Unlike pre-built options, DIY closets allow you to design and build every aspect according to your preferences. Whether you have an extensive shoe collection, need additional hanging space, or require specialized storage for accessories, you have the freedom to create a closet that perfectly meets your requirements.
2. Cost Savings:
Building your own closet can save you a significant amount of money compared to purchasing a pre-made system or hiring a professional. DIY closets cut out the middleman, eliminating the costs associated with labor and markup. Instead, you can invest that saved money in high-quality materials and design elements that will enhance the aesthetics and functionality of your closet.
3. Sense of Accomplishment:
Embarking on a DIY closet project can be a rewarding experience. From planning and measuring to cutting and assembling, each step allows you to actively participate in creating a space that reflects your style and caters to your organizational needs. The satisfaction of completing a project with your own two hands is unparalleled and can boost your confidence in tackling future DIY endeavors.
4. Flexibility:
With DIY closets, you have the flexibility to adapt and modify your storage solution as your needs change over time. Whether you move to a new home, your wardrobe expands, or you simply want to refresh the look of your closet, you can easily make adjustments without relying on external assistance. This adaptability ensures that your closet remains functional and relevant for years to come.
Now that you understand the advantages of choosing a DIY closet, let’s explore the key steps involved in creating your own personalized storage solution.
Designing Your DIY Closet
Designing your DIY closet is an exciting process that allows you to unleash your creativity while maximizing functionality. Follow these steps to ensure a well-planned and efficient design:
1. Assess Your Needs:
Start by evaluating your storage requirements. Consider the types of items you need to store, such as clothes, shoes, accessories, and any specific organizational needs you may have. Assess the available space and take precise measurements to determine the dimensions of your closet.
2. Plan the Layout:
Based on your needs and available space, sketch out a layout for your DIY closet. Decide on the arrangement of shelves, hanging rods, drawers, and any other components you envision. Take into account the height and reachability of different sections to optimize accessibility and convenience.
3. Choose Materials:
Selecting the right materials is crucial for the durability and aesthetics of your DIY closet. Opt for sturdy materials like plywood or MDF (medium-density fiberboard) for the main structure. Consider using melamine or laminate for the surfaces as they are easy to clean and maintain. Don’t forget to choose hardware, such as handles and knobs, that complement your overall design.
4. Consider Lighting:
Lighting plays a significant role in enhancing the functionality and ambiance of your closet. Ensure proper illumination by incorporating overhead lights, LED strips, or even motion sensor lights. Adequate lighting will make it easier to find items and create a pleasant atmosphere within your closet.
5. Add Personal Touches:
Don’t forget to infuse your personal style into the design. Consider adding decorative elements like wallpaper, paint, or interesting textures to make your DIY closet visually appealing. Incorporate accessories like hooks, tie racks, or jewelry organizers to further customize your space.
By following these design steps, you’ll be well on your way to creating a functional and aesthetically pleasing DIY closet. In the next section, we’ll delve into the materials and tools you’ll need to bring your design to life.
Gathering Materials and Tools
Before you dive into building your DIY closet, it’s important to gather all the necessary materials and tools. Here’s a list of essentials to ensure a smooth construction process:
1. Materials:
- Plywood or MDF for the main structure
- Melamine or laminate for surfaces
- Shelving materials (wood or wire)
- Hanging rods
- Drawer slides
- Decorative elements (wallpaper, paint, etc.)
- Hardware (handles, knobs, etc.)
2. Tools:
- Tape measure
- Level
- Saw (circular or table saw)
- Drill
- Screwdriver
- Router (for adding decorative edges)
- Sanding block or sandpaper
- Clamps
3. Safety Equipment:
- Safety goggles
- Dust mask
- Gloves
Ensure that you have all the required materials and tools before you begin constructing your DIY closet. It’s also a good idea to have a well-organized work area and a clear understanding of the construction process.
In the next section, we’ll guide you through the step-by-step process of building your DIY closet, from cutting the materials to assembling the components.
Building Your DIY Closet
Now that you have gathered all the necessary materials and tools, it’s time to roll up your sleeves and start building your DIY closet. Follow these step-by-step instructions to bring your design to life:
1. Cut the Materials:
Using the measurements from your design, carefully cut the plywood or MDF to create the main structure of your closet. Cut the shelves, hanging rods, and any other components according to your layout.
2. Assemble the Structure:
Begin by assembling the main structure using screws, making sure to align the pieces accurately. Attach the shelves and hanging rods at the desired heights, ensuring they are securely fastened.
3. Install the Surfaces:
Attach the melamine or laminate surfaces to the shelves and other exposed areas of the closet. Use a router to add decorative edges if desired. Sand any rough edges or surfaces for a smooth finish.
4. Add Hardware:
Install the handles, knobs, and any other hardware according to your design. Ensure they are properly aligned and tightened for a secure and functional closet.
5. Finishing Touches:
Once the main structure is assembled, take the opportunity to add any finishing touches. Apply paint or wallpaper to the interior walls, or add any decorative elements that will enhance the overall aesthetic appeal.
6. Test and Adjust:
Before loading your belongings into the closet, test the functionality of the components. Adjust the shelves, hanging rods, or drawer slides if necessary to ensure smooth operation and proper alignment.
Congratulations! You have successfully built your own DIY closet. Now, it’s time to organize your belongings and enjoy the benefits of a well-designed and customized storage space.
In the final section of our blog, we’ll share some maintenance tips and additional ideas to maximize the efficiency of your DIY closet.
Maintaining and Maximizing Your DIY Closet
Now that your DIY closet is complete, it’s important to maintain its functionality and maximize its efficiency. Here are some maintenance tips and additional ideas to make the most of your customized storage space:
1. Regular Cleaning:
Keep your DIY closet clean and organized by regularly decluttering and dusting the shelves, hanging rods, and surfaces. Wipe down any spills or stains promptly to prevent damage to the materials.
2. Utilize Storage Solutions:
Make the most of your closet’s storage capacity by incorporating additional organizers such as baskets, storage bins, and dividers. These can help categorize and separate different items, making it easier to locate and access what you need.
3. Rotate Seasonal Items:
Maximize space by rotating your seasonal clothing and accessories. Store off-season items in labeled boxes or vacuum-sealed bags, creating more room for the current season’s belongings.
4. Optimize Lighting:
Ensure your closet is well-lit to easily locate items and create a pleasant ambiance. Consider adding LED lighting strips or motion sensor lights to enhance visibility and energy efficiency.
5. Regularly Assess and Adjust:
As your needs and preferences may change over time, periodically assess your closet’s organization and layout. Make adjustments as necessary to optimize functionality and accommodate any new storage requirements.
6. Get Creative:
Explore creative storage solutions such as using vertical space with hooks or adding pull-out accessories like tie racks or belt hangers. Think outside the box to maximize every inch of your DIY closet.
By following these maintenance tips and implementing additional ideas, you can ensure that your DIY closet remains a well-organized and efficient space for years to come.
We hope this guide has been informative and inspiring, helping you embark on your journey to create a functional and personalized DIY closet. Enjoy the rewards of your hard work and revel in the satisfaction of a perfectly organized space!
In conclusion, DIY closets offer a multitude of benefits, from customization and cost savings to a sense of accomplishment and flexibility. By designing and building your own closet, you can create a personalized and functional storage space that perfectly suits your needs. Remember to assess your requirements, plan the layout, gather the necessary materials and tools, and follow the step-by-step construction process. Maintain your DIY closet by regular cleaning, utilizing storage solutions, optimizing lighting, and regularly assessing and adjusting its organization. With a little creativity and effort, you can transform your closet into a well-organized haven that brings joy and efficiency to your daily life. Start your DIY closet project today and enjoy the satisfaction of a beautifully crafted storage solution!