Welcome to our comprehensive guide on DIY lawn treatment! Whether you’re a seasoned gardener or just starting out, maintaining a lush and healthy lawn can be a rewarding endeavor. In this article, we will equip you with expert tips and techniques to transform your yard into a verdant oasis. From weed control to fertilization, we’ll cover everything you need to know to ensure your lawn remains vibrant throughout the year. So, let’s dive in and discover the secrets to achieving that perfect, enviable lawn!
Table of Contents
Understanding Your Lawn’s Needs
Before diving into the realm of DIY lawn treatment, it’s crucial to understand the unique needs of your lawn. Different grass types, climate conditions, and soil compositions can greatly impact the care your lawn requires. Here are some key factors to consider:
1. Grass Type
Identify the type of grass in your lawn, such as Bermuda, Kentucky Bluegrass, or Zoysia. Each grass type has specific requirements for watering, mowing, and fertilization. Research the characteristics of your grass type to ensure you’re providing the appropriate care.
2. Soil Analysis
Conduct a soil analysis to determine its pH level and nutrient content. You can purchase a DIY soil testing kit or send a sample to a local agricultural extension office. Understanding your soil’s composition will help you choose the right fertilizers and soil amendments.
3. Climate Considerations
Take into account your region’s climate conditions, including temperature range, rainfall patterns, and seasonal variations. This information will guide your watering schedule, choice of grass seed, and overall lawn maintenance practices.
4. Sun and Shade Exposure
Observe how sunlight falls on different areas of your lawn throughout the day. Some grass species thrive in full sun, while others can tolerate shade. Adjust your lawn care routine accordingly to provide adequate sunlight or shade as needed.
By thoroughly understanding these factors, you’ll be able to create a customized lawn treatment plan that caters to your specific lawn’s requirements. So, let’s move on to the next section and explore the essential steps for DIY lawn treatment.
Essential Steps for DIY Lawn Treatment
Now that you have a solid understanding of your lawn’s needs, it’s time to dive into the essential steps for DIY lawn treatment. By following these guidelines, you’ll be on your way to achieving a healthy and vibrant lawn:
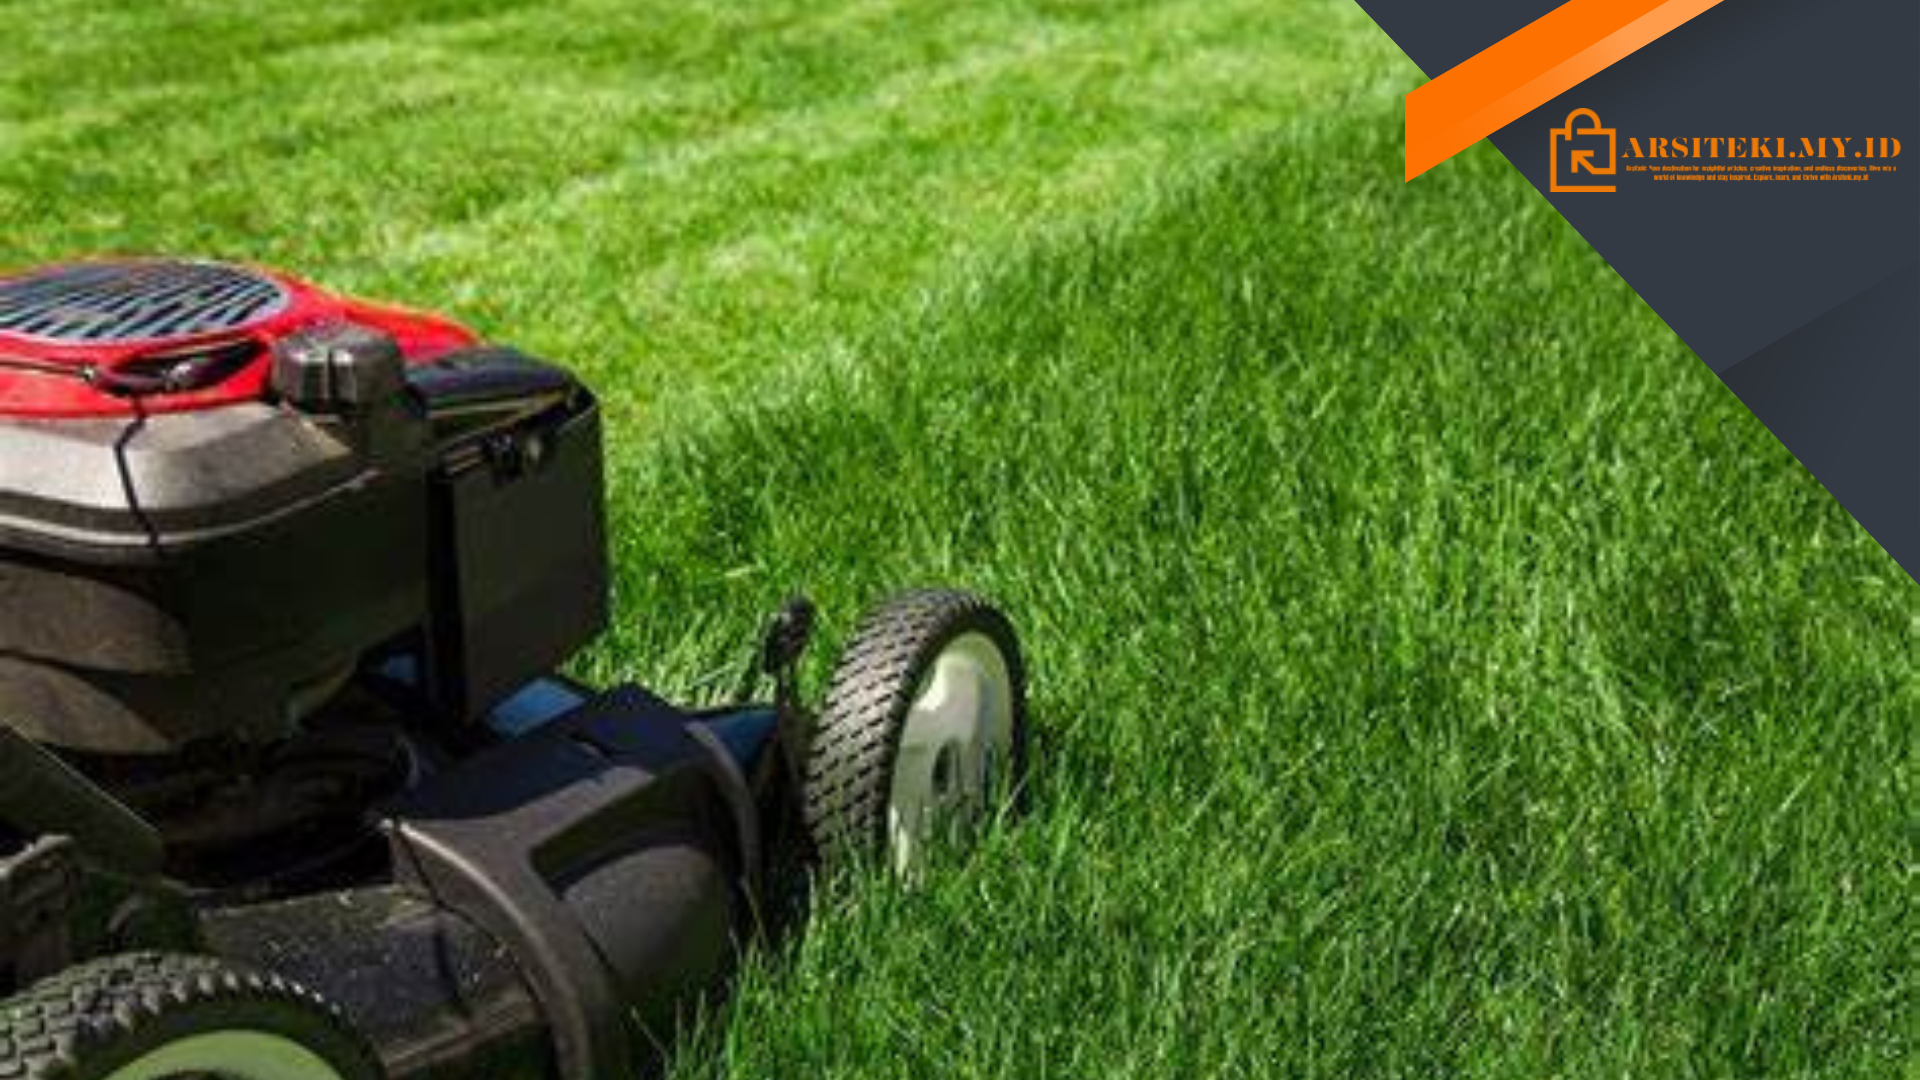
1. Regular Mowing
Mowing your lawn at the correct height is crucial for its overall health. Set your mower blades to the recommended height for your specific grass type and avoid cutting more than one-third of the grass blade at a time. Regular mowing promotes thicker growth and helps prevent weed growth.
2. Proper Watering
Water your lawn deeply and infrequently, aiming for about an inch of water per week. Watering deeply encourages deep root growth, making your lawn more resilient to drought conditions. Avoid overwatering, as it can lead to shallow root systems and increased susceptibility to diseases.
3. Adequate Fertilization
Fertilizing your lawn provides essential nutrients for healthy growth. Choose a high-quality fertilizer that matches the nutrient needs of your grass type. Follow the instructions on the fertilizer package carefully, applying it at the recommended times and rates. Avoid applying excessive fertilizer, as it can damage your lawn and harm the environment.
4. Weed Control
Preventing and controlling weeds is key to maintaining a pristine lawn. Regularly inspect your lawn for weeds and promptly remove them by hand or with the help of targeted herbicides. Applying pre-emergent herbicides before weed seeds germinate can also help prevent weed infestations.
5. Aeration and Overseeding
Aerate your lawn annually to alleviate soil compaction and promote better water and nutrient absorption. After aerating, overseed your lawn with grass seed that matches your existing grass type. This process fills in bare patches and helps maintain a thick and healthy turf.
By following these essential steps, you’ll be well on your way to achieving a beautiful and well-maintained lawn. In the next section, we’ll discuss additional tips and tricks for tackling common lawn problems and challenges.
Tackling Common Lawn Problems and Challenges
Even with proper care, lawns can encounter various problems and challenges. In this section, we’ll explore some common issues you may face and provide effective solutions:
1. Dealing with Lawn Pests
Pests like grubs, ants, and chinch bugs can wreak havoc on your lawn. Identify the specific pests causing damage and choose the appropriate control methods. This may involve using insecticides, beneficial nematodes, or natural remedies like diatomaceous earth. Regular monitoring and early intervention are key to preventing extensive damage.
2. Managing Lawn Diseases
Lawn diseases, such as brown patch, dollar spot, and powdery mildew, can cause unsightly patches and damage. Proper lawn care practices, including regular mowing, adequate watering, and appropriate fertilization, can help prevent disease outbreaks. If your lawn does develop a disease, identify the specific issue and treat it with fungicides or cultural practices, such as improving airflow and reducing moisture levels.
3. Resolving Soil Compaction
Compacted soil restricts root growth and makes it difficult for grass to access water and nutrients. To combat soil compaction, aerate your lawn annually using a core aerator. This process creates small holes in the soil, allowing for better air and water circulation. Topdressing with compost can also help improve soil structure.
4. Addressing Patchy or Thin Areas
If your lawn has thin or patchy areas, overseeding can help rejuvenate its appearance. Prepare the soil by removing debris and loosening the top layer. Spread grass seed evenly over the area and lightly rake it in. Keep the seeded area consistently moist until the new grass establishes itself.
5. Controlling Excessive Thatch
Thatch is a layer of dead grass stems and roots that accumulates between the soil and living grass blades. Excessive thatch can impede water and nutrient absorption. Regularly dethatching your lawn using a dethatching rake or a power dethatcher helps keep thatch levels in check. Follow up with core aeration to further improve soil conditions.
By addressing these common lawn problems and challenges promptly and effectively, you can maintain a healthy and thriving lawn. In the next section, we’ll discuss some additional tips and best practices for DIY lawn treatment.
Additional Tips and Best Practices for DIY Lawn Treatment
In this final section, we’ll cover some additional tips and best practices to enhance your DIY lawn treatment efforts:
1. Test Your Soil Regularly
Perform periodic soil tests to monitor its pH levels and nutrient content. This will help you identify any deficiencies or imbalances and adjust your fertilization accordingly. Testing every two to three years is generally recommended.
2. Follow Proper Mowing Techniques
When mowing your lawn, make sure to keep your mower blades sharp to ensure clean cuts. Avoid cutting the grass too short, as it can stress the plants and make them more susceptible to diseases and weed infiltration.
3. Practice Smart Watering
Water your lawn in the early morning or late afternoon to minimize water loss through evaporation. Use a sprinkler system or a hose with a sprinkler attachment to ensure even coverage. Water deeply, allowing the moisture to penetrate the root zone.
4. Maintain a Regular Maintenance Schedule
Consistency is key when it comes to lawn care. Set up a regular maintenance schedule that includes mowing, fertilizing, and other necessary tasks. This will help you stay on top of your lawn’s needs and prevent any issues from escalating.
5. Practice Integrated Pest Management (IPM)
Instead of relying solely on chemical pesticides, adopt an integrated pest management approach. This involves using a combination of cultural, biological, and chemical control methods to manage pests while minimizing harm to beneficial insects and the environment.
6. Keep an Eye on Weed Prevention
In addition to removing weeds as they appear, take proactive measures to prevent their growth. This includes maintaining a thick and healthy lawn through proper mowing, watering, and fertilization, as well as applying pre-emergent herbicides during the appropriate times of the year.
By incorporating these additional tips and best practices into your DIY lawn treatment routine, you’ll be well-equipped to maintain a beautiful and thriving lawn year-round.
Conclusion: Achieving a Lush and Healthy Lawn
Congratulations! You’ve now become well-versed in the art of DIY lawn treatment. By understanding your lawn’s needs, following essential steps, tackling common problems, and implementing best practices, you’re on your way to achieving a lush and healthy lawn that will be the envy of your neighborhood.
Remember, maintaining a beautiful lawn requires consistent effort and attention throughout the year. Stay proactive by adhering to a regular maintenance schedule, monitoring for pests and diseases, and addressing any issues promptly. Regularly assess your lawn’s needs and adjust your care practices accordingly.
Additionally, don’t forget to stay informed about new techniques, tools, and advancements in lawn care. The world of lawn treatment is constantly evolving, and staying up-to-date will help you refine your practices and achieve even better results.
Now it’s time to put your knowledge into action and enjoy the fruits of your labor. With proper care and dedication, your lawn will serve as a vibrant and inviting backdrop for outdoor activities, family gatherings, and moments of relaxation.
So go ahead, step outside, and revel in the beauty of your well-cared-for lawn. And if you ever need a refresher or encounter new challenges, remember that this comprehensive guide is always here to assist you in your DIY lawn treatment journey. Happy gardening!
In conclusion, DIY lawn treatment is not only a cost-effective approach but also a rewarding one. By understanding your lawn’s specific needs, following the essential steps, tackling common problems, and implementing best practices, you can achieve a lush and healthy lawn that enhances the beauty of your outdoor space.
Remember to regularly mow, water, fertilize, and control weeds to keep your lawn in optimal condition. Address any pest or disease issues promptly and maintain a regular maintenance schedule. Stay informed about new techniques and advancements in lawn care to continuously improve your practices.
With dedication and consistent effort, your lawn will become a vibrant and inviting space for you to enjoy. So, put your newfound knowledge into action and create the lawn of your dreams. Happy gardening!